
How to assign a badge with an expiration date
Badges work like access passes for your platform: they help determine which content each person can view and access.
Imagine a course reserved for a specific class. You can create a badge for that class, configure the course to require it, and assign it to the students. The badge connects people to the content intended for them.
For a time-limited program, assign an expiration date that matches the access period. This article shows you how to assign an existing badge to one person and set its expiration date.
1Open the admin panel and find the badge
- With your administrator account signed in, click your profile picture in the top-right corner.
- Choose Admin panel.
- Click Search... in the sidebar.
- Search for Access badges and select the result under Users.
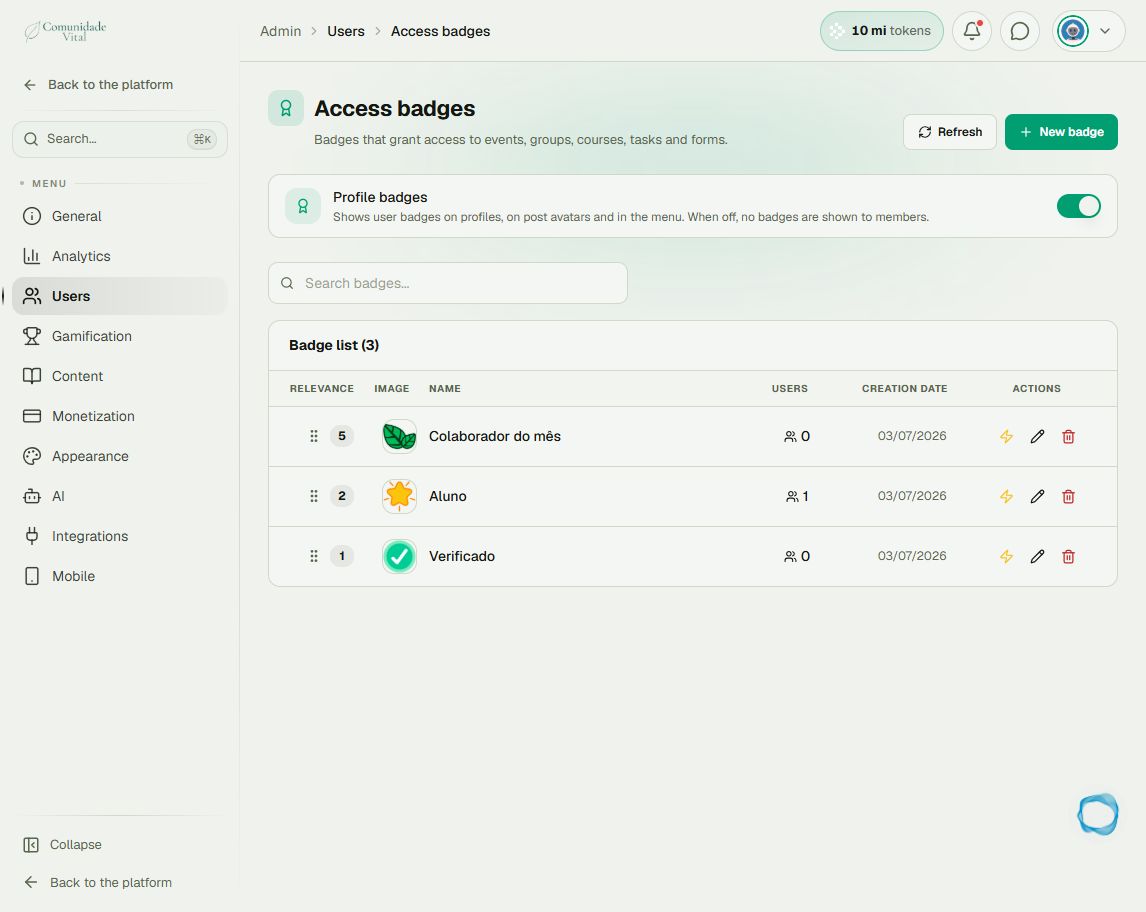
- Click the badge name. Our example uses Aluno, a custom badge name.
2Open the assignment form
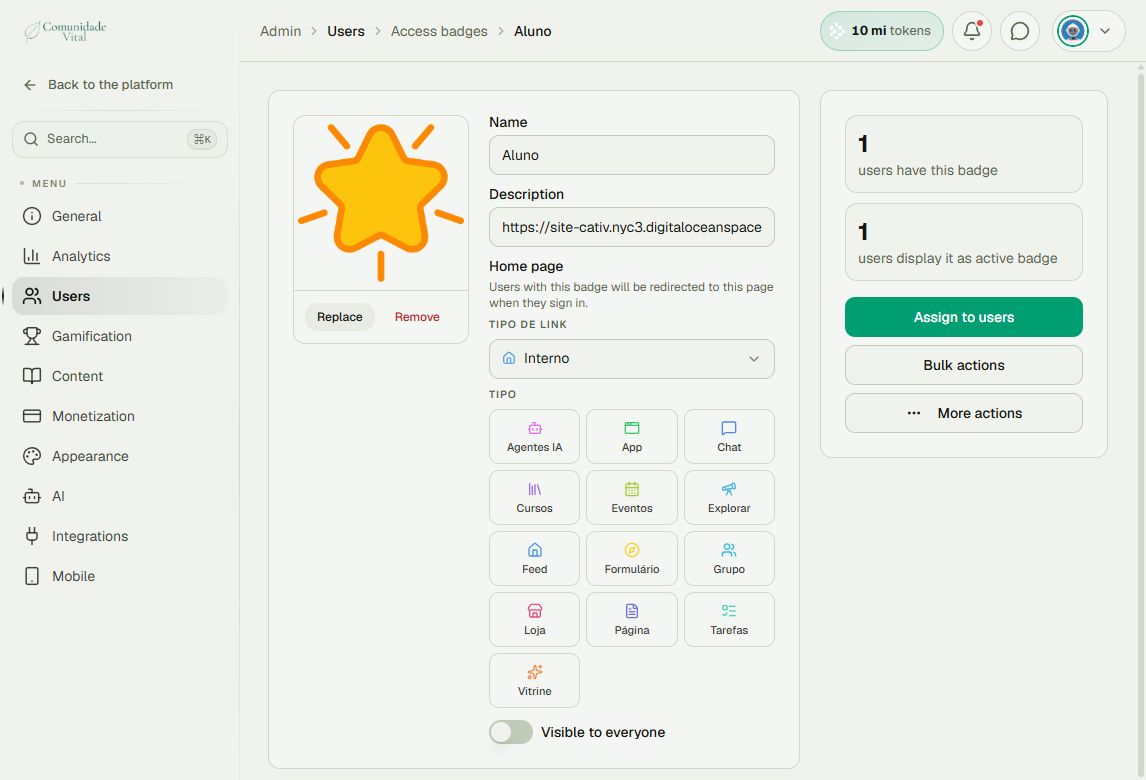
On the badge page, click Assign to users on the right.
3Find the person and choose a date
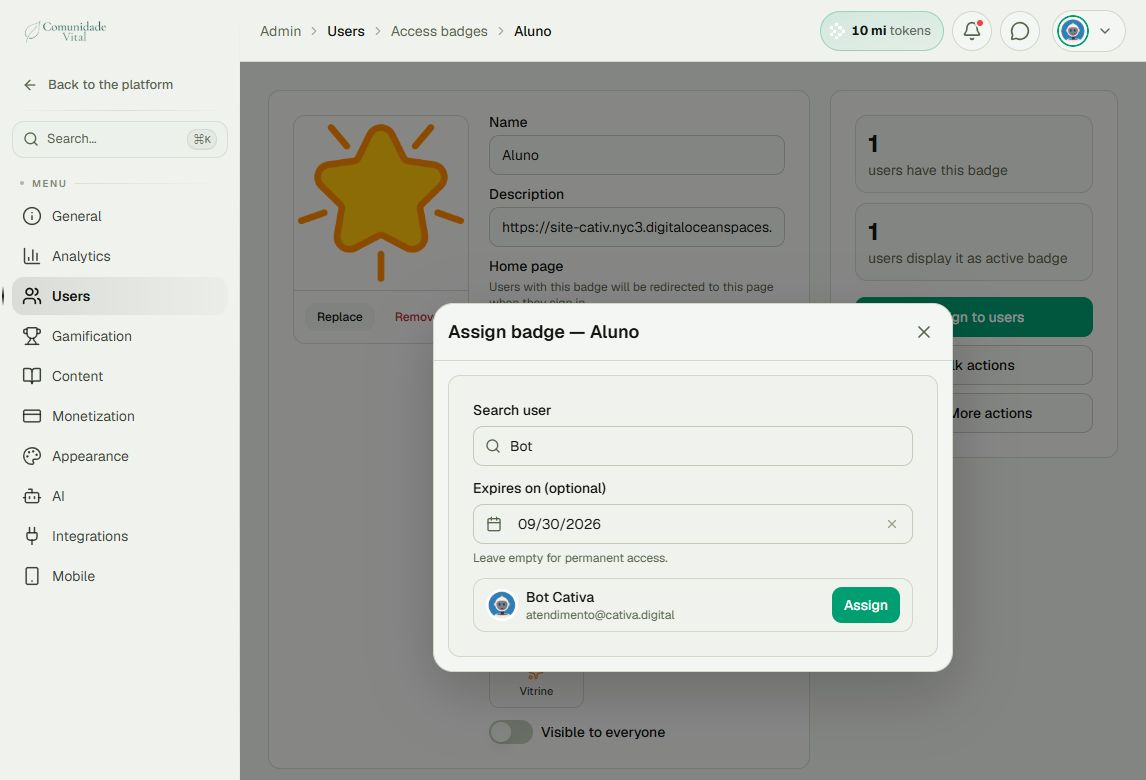
- In Search user, enter at least two characters.
- Check the name and email to identify the correct account.
- Open the calendar in Expires on (optional) and choose an expiration date.
- Review the date, then click Assign next to the intended person.
4Check the assignment
In the badge page's Holders tab, find the person and check Expires at. Confirm that the date matches your selection.
Tip: choose the assignment method
Manual assignment works well for one person or an exception. For recurring rules, consider an automation, an integration, or the API.
Automation: for example, grant a badge when a member enters a segment. The grant-badge action supports no expiration, a number of days, or a fixed date. Read the automation articles for this workflow.
Integration: when access depends on an event in another system, such as a purchase, consult the integration and access articles. Setup depends on the connected system.
API: for a custom integration, your technical team can consult the API and badge-assignment articles. Check the expiration rules for the specific operation.
Frequently asked questions
Does everyone get the same expiration date?
No. Expiration is set for each person receiving the badge. The same badge can have different dates for different users.
Does the badge unlock all platform content?
No. Access depends on the rules configured for each content item. Assigning a badge and configuring the content audience are separate steps.
What if the person already has the badge?
To change only its expiration date, use Edit expiration in the Selos tab of the user's record. This tab retains its Portuguese label.