
How to organize the platform showcase
A showcase organizes content on an entry page. Think of it as a visual index: each section helps people find what to open next.
You can group welcome content, courses, and shortcuts in separate sections without changing course structure.
Click your profile picture in the top-right corner and open Admin panel. Use Search... in the sidebar to find the last item in this path: Appearance › Showcases.
1Open the showcase
In the list, click the pencil for the showcase to organize. Use New showcase to start another. Check its name at the top before editing. An existing showcase can be duplicated from the list to prepare another arrangement.
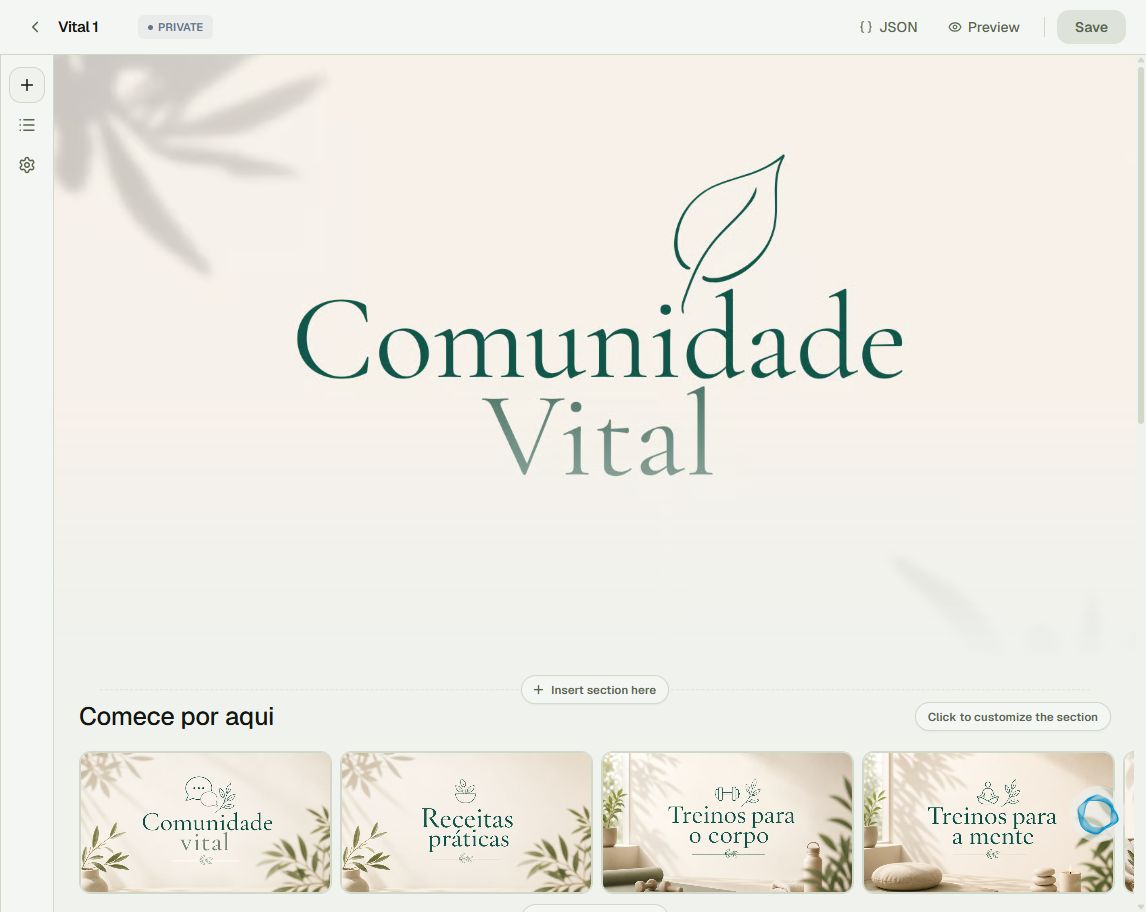
2Choose the section by its purpose
Click Criar seção (create section). Use Content cards to group items, an Image/video banner for a prominent image or video, and Shortcuts for buttons. Select a type and confirm section creation.
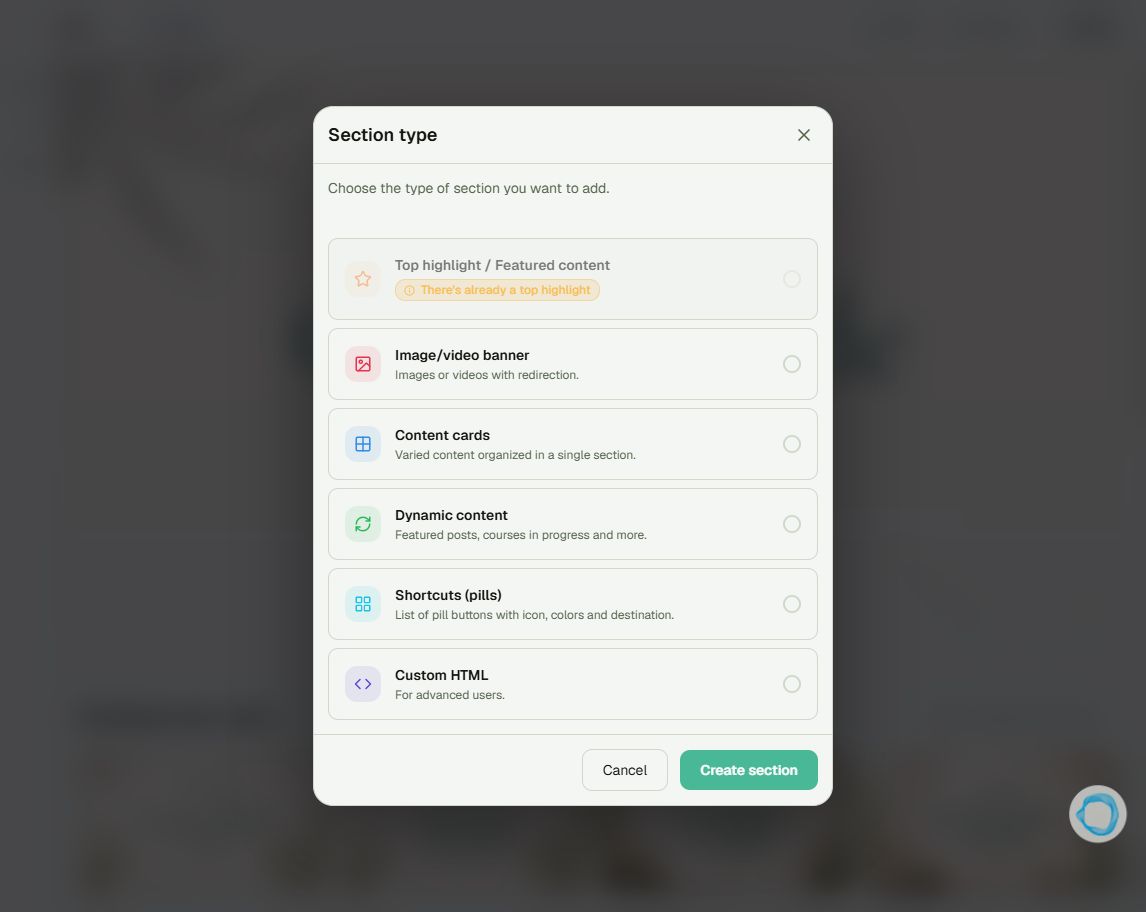
3Configure content, destination, and devices
Click the section to edit its title and content. For cards, configure media and destination using the course picker or a URL as appropriate. Check Desktop/Mobile visibility. Preview the order and image cropping.
4Save and check the opening page
Enter the name and click Save. In settings, check whether the showcase should be Public or Private. If it is the home page, also define the logo destination. To use it as the opening page, go to General › Basic information › Opening page.
Tip
Adding a card does not grant content access. Use badges in resource access rules and configure menus to help the audience reach the showcase.
Frequently asked questions
How do I keep a copy of the layout?
The editor’s JSON button lets you copy or download the configuration. Review imported configurations before saving.
Does a private showcase require a badge?
Private requires sign-in. It is not a badge restriction on the whole showcase.