
How to create and make a form available
A form brings questions together and lets you track responses. Use it to learn new participants’ goals or collect information at a program milestone.
For example, a welcome form can ask a student’s main goal before directing them to introductory content. Decide which answers are required and who may respond.
Click your profile picture in the top-right corner and open Admin panel. Use Search... in the sidebar to find the last item in this path: Users › Forms.
1Identify the form
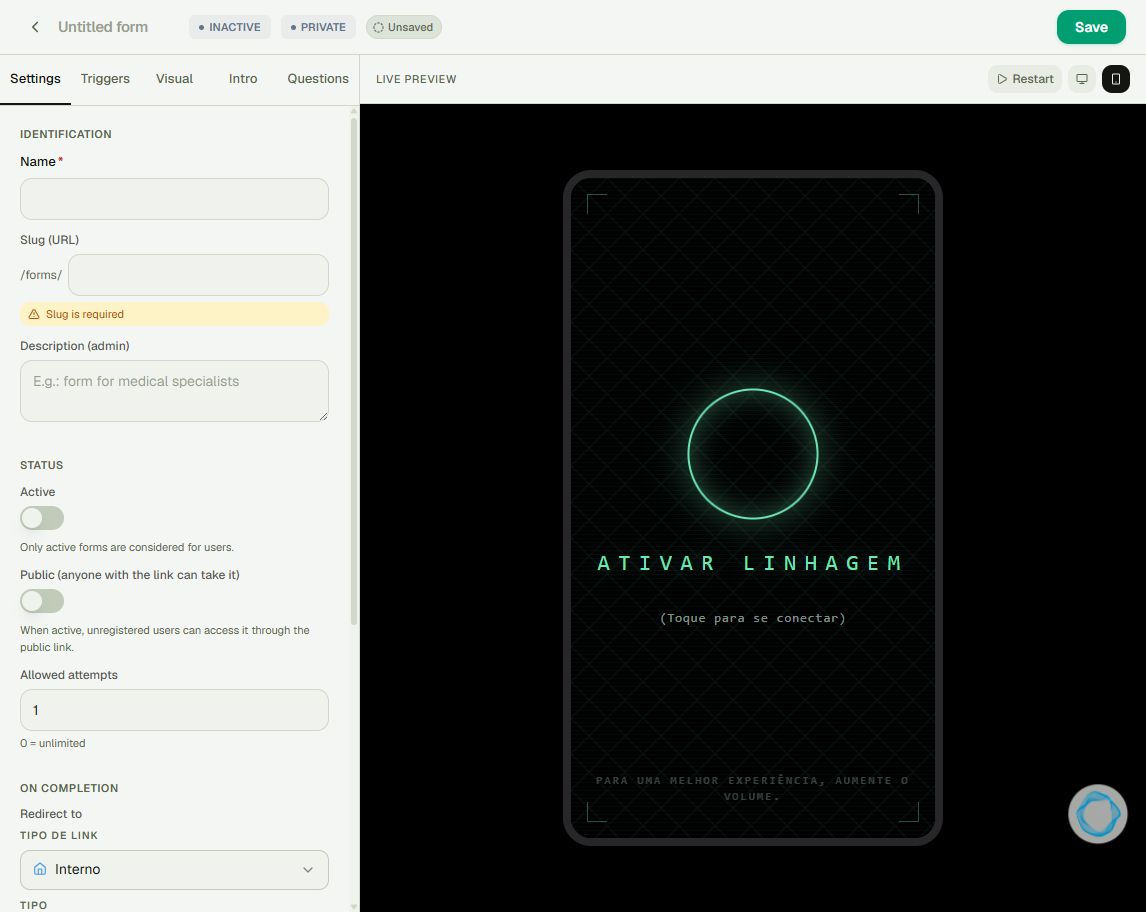
Click the new-form button. In Settings, enter Name and Slug (the address segment). Set allowed attempts and keep the form inactive while preparing it. Public allows unregistered people to use the link; enable it only for that intended audience.
2Add questions
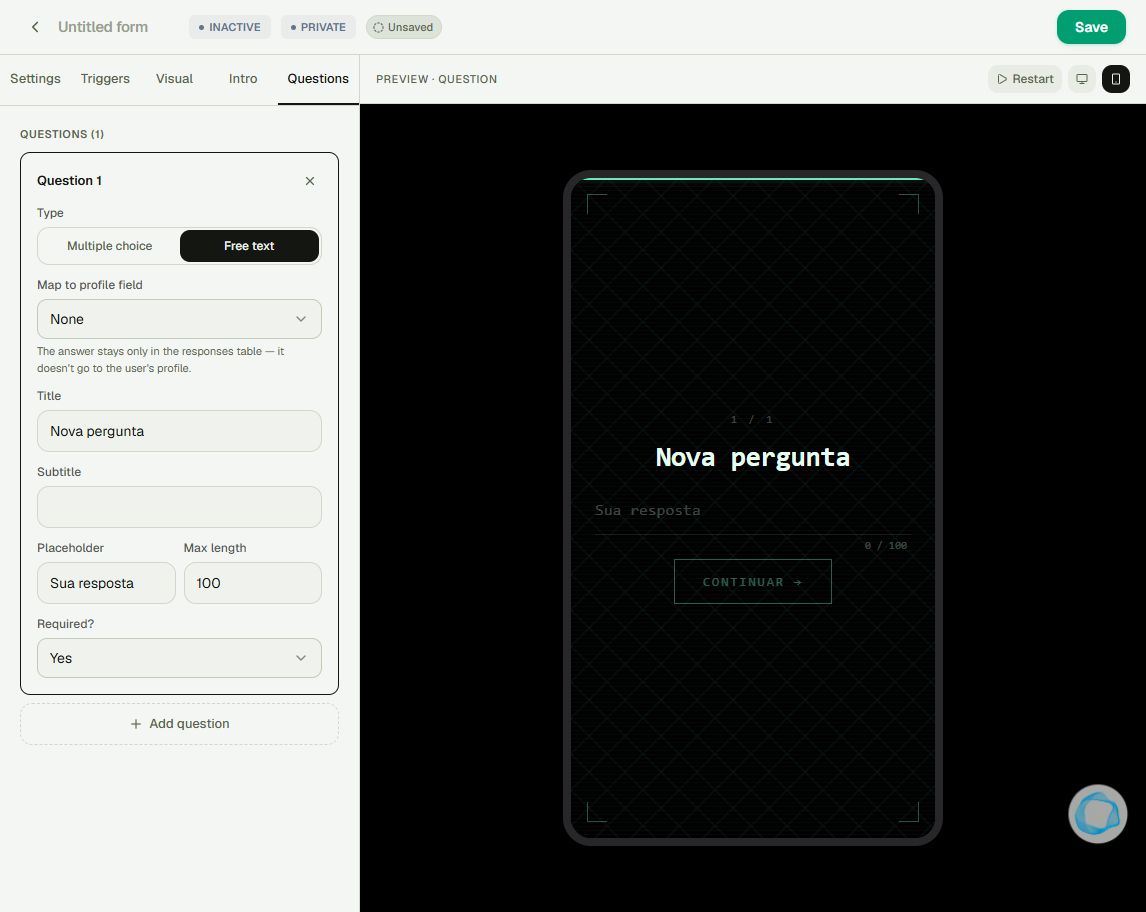
Open Questions › Add question. Choose multiple choice, free text, or consent. Enter the title and options or answer guidance. For free text, check maximum length and whether the question is required. To also store the answer on the profile, choose a mapped profile field; otherwise it stays in the responses table.
3Review the flow and make it available
Review Intro, Visual, and Triggers. Use Desktop/Mobile preview to walk through questions. In Settings, check the completion destination and any awarded badges. When ready, activate and click Save. Return to the list, open its Slug link, and check submissions under Responses.
Tip
A native form can award a badge on completion, including conditionally on an answer. Embedding an external form does not automatically send answers or badges to the platform; read the integration articles.
Frequently asked questions
Are profile fields and forms the same?
No. A profile field stores a person’s value; a form organizes questions and completion.
Does a registration trigger reach existing users?
Not retroactively. Review the audience and triggers to reach existing users, for example through a badge condition.